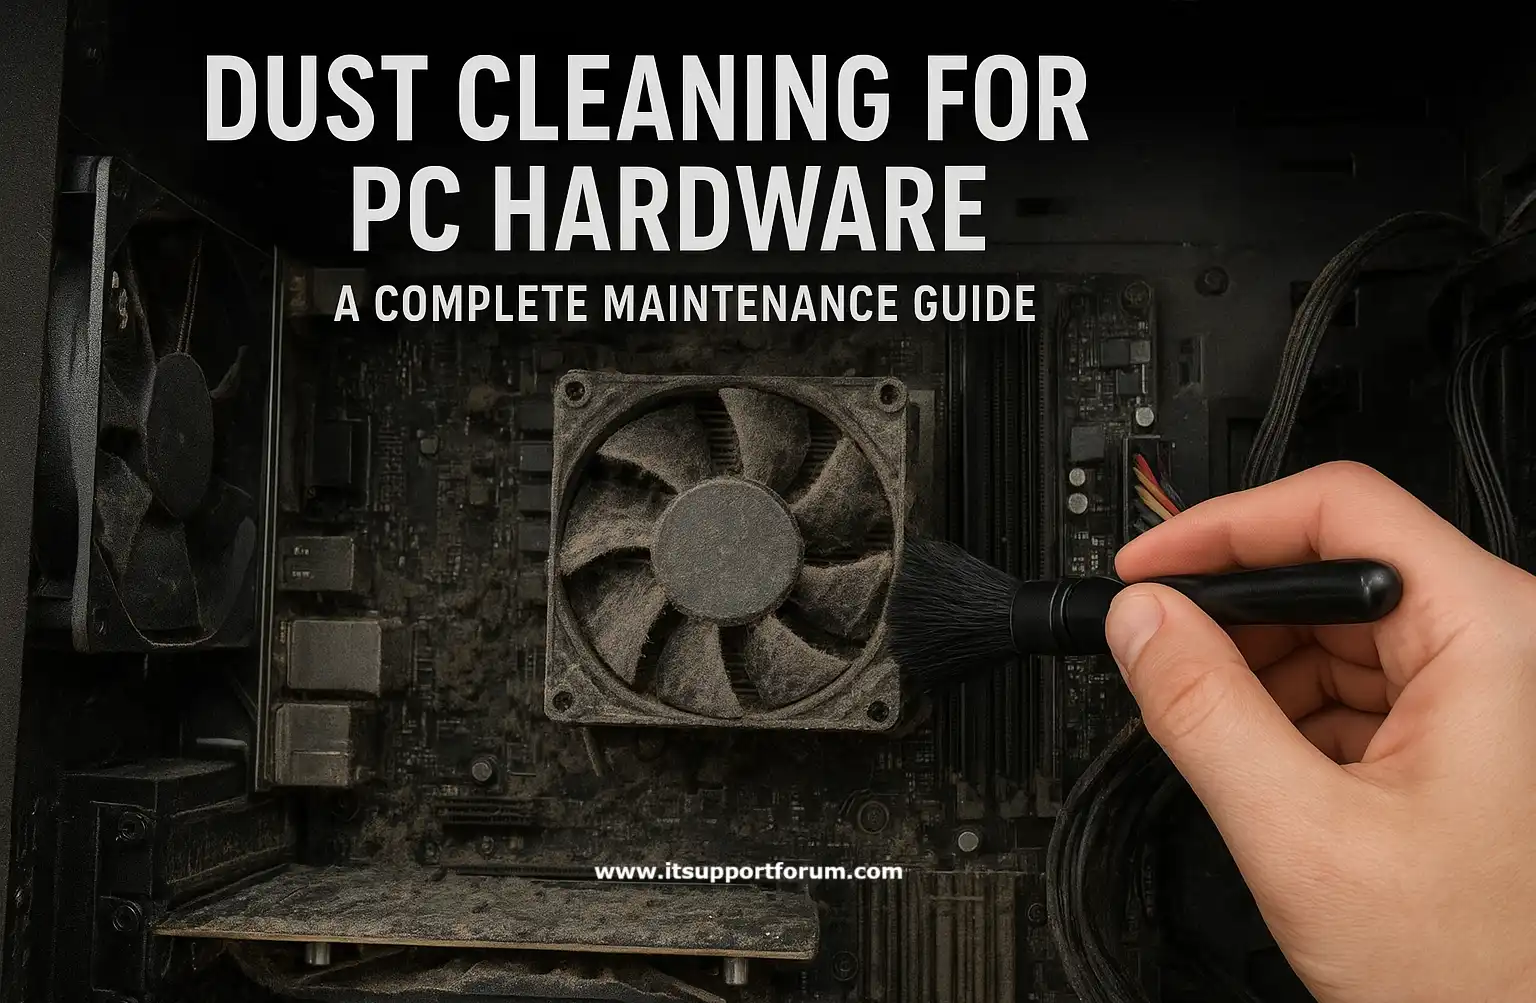
Dust Cleaning for PC Hardware: A Complete Maintenance Guide

Dust accumulation within PC hardware affects thermal regulation, airflow precision, and electrical reliability.
As particles settle across fans, heatsinks, and intake vents, they create resistance to cooling and trigger thermal throttling.
Moreover, static-prone dust can introduce short circuits along unshielded traces or VRM modules.
Over time, airflow turbulence increases, fan blades degrade, and capacitors operate under higher-than-designed ambient temperatures.
You’ll often hear users complain that their PC is “slowing down” or “louder than usual.” That’s rarely software. It’s heat. If you're responsible for maintaining a system, dust control deserves your attention.
Which PC Components Collect Dust?
Case Fans (Front, Rear, Top)
These fans draw air across intake grilles. Dust settles on blade edges and in motor cavities, lowering RPM efficiency and increasing noise over time.CPU Cooler and Heatsink Fins
Dust accumulates between the fins, insulating the heat pipes and reducing contact with airflow. This leads to higher core temperatures and throttled processing.Power Supply Unit (PSU) Intake and Exhaust
Dust blankets the PSU’s intake mesh and internal fan, forcing the unit to compensate with higher fan speed and unstable power draw under load.Graphics Card (GPU) Cooling Zones
Dust settles around axial fans and across VRMs on the card body. This reduces thermal headroom and accelerates fan wear.Motherboard and RAM Slots
Airborne dust settles along unused slots, chipset heat shields, and passive VRMs. Long-term buildup may cause mild contact interference or surface insulation.Drive Bays and Cable Channels
These low-pressure zones trap larger dust clusters. While passive, they create warm pockets that disrupt airflow paths intended for active cooling zones.Unused I/O Ports and Rear Panel Gaps
Open USB, HDMI, or Ethernet ports often gather lint and particulate material. If left uncleared, they may interfere with future hardware connections.
Tools and Supplies for Safe Dust Cleaning
Compressed Air Canister
This tool delivers controlled bursts of air to dislodge fine dust from narrow gaps, especially in heatsinks and fan blades. Use short pulses only.Anti-static Brush
The soft bristles break surface tension and dislodge compacted dust on contact surfaces. Choose one with grounded or carbon-infused fibres.Isopropyl Alcohol (70% or higher)
Use this to clean metal contact surfaces gently. It evaporates quickly and leaves no residue, which protects against corrosion or conductivity disruption.Microfiber Cloth
Ideal for wiping accessible panels and fan cages. It traps particulate material without scratching acrylic or metal surfaces.Dust Mask (Optional)
If you're working in a closed room or handling several systems, a simple mask keeps you from inhaling airborne particles.Anti-static Wrist Strap
Connect this strap to a grounded point before touching internal components. It disperses static electricity, protecting chips and memory modules.Plastic Cable Tie or Chopstick (Non-conductive probe)
Occasionally, you’ll need to lift wires or shift fan blades without applying pressure. Use a non-metallic tool to avoid damage.
Step-by-Step PC Dust Cleaning Procedure
Power Down and Disconnect the System
Turn off the computer fully. Unplug all peripherals and power sources. Wait 60 seconds before opening the case to allow charge dissipation.
Remove the Side Panel(s) of the Case
Use the rear thumbscrews or a screwdriver if necessary. Set the panel aside in a safe, flat area to avoid scratches or warping.Ground Yourself Before Touching Internal Parts
Attach your anti-static wrist strap to a grounded metal point on the case. Touch the chassis interior briefly to balance electrical potential.Begin Cleaning with Compressed Air
Hold the can upright and release short bursts into fans, heatsinks, and motherboard surfaces. Keep the nozzle at least 5 centimetres away from each part.Clean Fan Blades and Heatsink Fins Gently
Use an anti-static brush to remove particles bonded to fan edges and fin gaps. Brush outward from the centre to avoid lodging dust deeper.Wipe Flat Surfaces with a Microfiber Cloth
Clean case interiors, drive cages, and visible cable dust. Avoid pressure near circuitry. You may use isopropyl alcohol on metal panel edges.Hold Fans in Place During Air Blasts
Prevent fan rotation when cleaning by using a chopstick or non-conductive tool. Spinning fans under air pressure can damage the bearings.Inspect Power Supply Vents and GPU Heat Zones
Aim air into the PSU grill and GPU fan openings. Do not open the PSU casing. If it’s sealed, keep airflow external only.Replace the Side Panel and Reconnect Cables
Once surfaces are dry and debris removed, close the case securely. Reconnect cables in order: power, monitor, peripherals.Power On and Monitor System Temperatures
Use BIOS or system software to check CPU and GPU temperatures after cleaning. Reduced idle and load temps confirm effective dust removal.
Common Mistakes to Avoid When Cleaning PC Hardware
Using a Vacuum Cleaner on Components
Standard vacuums generate static electricity that can discharge into exposed circuitry. Use compressed air instead to displace dust without electrostatic buildup.Letting Fans Spin Freely While Blasting Air
When fans spin during cleaning, they generate back-current into the header pins. This disrupts voltage regulation and may degrade fan control circuitry.Touching Internal Components Without Grounding
Static charges stored in your body can transfer to VRMs or RAM modules. Always use a grounding strap or touch the metal chassis first.Applying Compressed Air Too Close to Surfaces
Pressurised air within five centimetres may drive dust deeper into slot connectors or break delicate fan mounts. Maintain distance and short bursts only.Reassembling the Case Before Inspecting Results
Before closing the system, check for remaining deposits behind fans and in low-suction areas. Residual dust often hides where airflow is weakest.Skipping the Power Supply Exterior
Even sealed PSUs accumulate surface dust on intake grilles. Clean these with angled air bursts to restore stable thermal cycling.Cleaning While the System Is Plugged In
Electrostatic and physical risks increase dramatically with the power connected. Full disconnection, including the monitor and UPS, ensures a clean thermal and electrical break.Using Rubbing Alcohol on Plastic Surfaces
Isopropyl alcohol can cloud acrylic panels and react with painted surfaces. Use only on metals or bare heatsinks unless specified otherwise.
Read also: Upgrade RAM or SSD Laptop: Which Boosts Speed More?
