
How to Create a Windows 11 Bootable USB using Rufus
Creating a bootable USB for Windows 11 allows clean installations, offline setups, or recovery operations without relying on cloud-based tools or installation assistants.
Rufus is a compact utility widely used to write ISO files directly to USB drives, enabling fully bootable media compatible with both modern UEFI systems and legacy BIOS setups.
You’ll need a Windows 11 ISO file, a reliable USB drive, and a working PC to begin. If you’re wondering whether this process demands command-line input, don’t worry, it doesn’t.
The guide that follows provides a technical breakdown of each step, including precise Rufus configuration, ISO selection, and USB formatting options. Let’s begin.
System Requirements and Prerequisites
USB Flash Drive (Minimum 8 GB)
Use a USB 2.0 or 3.0 drive with at least 8 GB capacity. Higher speeds reduce write time during ISO deployment.Windows 11 ISO File
Download the official ISO from microsoft.com/software-download/windows11. Choose the 64-bit edition. File size typically ranges between 5.1 and 5.5 GB.Rufus Utility
Get the latest version of Rufus from rufus.ie. The portable version works without installation. It supports both UEFI and BIOS configurations.Computer Running Windows (Administrator Access)
Rufus requires administrative privileges to write bootable data. You’ll need a Windows system to run it, Windows 10 or newer is preferred.Partition Scheme Compatibility
Check your target machine’s BIOS settings to determine if it supports GPT with UEFI or MBR with legacy boot mode. Rufus supports both.Secure Internet Connection (For File Downloads)
Use a stable connection to download both the ISO and Rufus reliably. Avoid public Wi-Fi to reduce the risk of corrupted downloads.
Optional: TPM and Secure Boot Readiness
If your target PC uses Windows 11 officially, make sure Secure Boot and TPM 2.0 are enabled. These are hardware requirements for installation.
Once you have all the above, you're ready to begin configuration. It doesn’t take long—but precision matters here.
Downloading Rufus and Windows 11 ISO
A. Downloading the Windows 11 ISO
Microsoft offers the Windows 11 ISO directly from its official download center. You’ll need the latest 64-bit version for compatibility with Rufus.
Scroll down to “Download Windows 11 Disk Image (ISO).”
Select Windows 11 (multi-edition ISO) from the dropdown.
Click Download, then choose your language.
Select 64-bit Download and save the file locally.
File size typically ranges between 5.1 GB and 5.5 GB.
(Optional) Verify the file hash if available, especially if you're reusing the ISO later.
Rufus will mount this ISO to build the bootable USB installer.
B. Downloading Rufus Utility
Rufus is a free executable that prepares USB media for booting. The portable version is lightweight and runs without installation.
Visit rufus.ie.
Scroll to the download section and select the latest version.
Choose the portable edition to avoid installation prompts.
Save the executable file to your Downloads folder or desktop.
Right-click the file and select Run as administrator when launching.
With both files downloaded, you're ready to configure Rufus and connect the USB drive. Let’s handle that next.
Launching Rufus and Configuring USB Drive
Once you’ve downloaded Rufus and have your ISO ready, it’s time to plug in your USB flash drive and launch the tool.
Open Rufus by right-clicking the executable and selecting Run as administrator. It auto-detects all USB drives connected to the system. Ensure only your intended USB is plugged in to avoid mistakes.
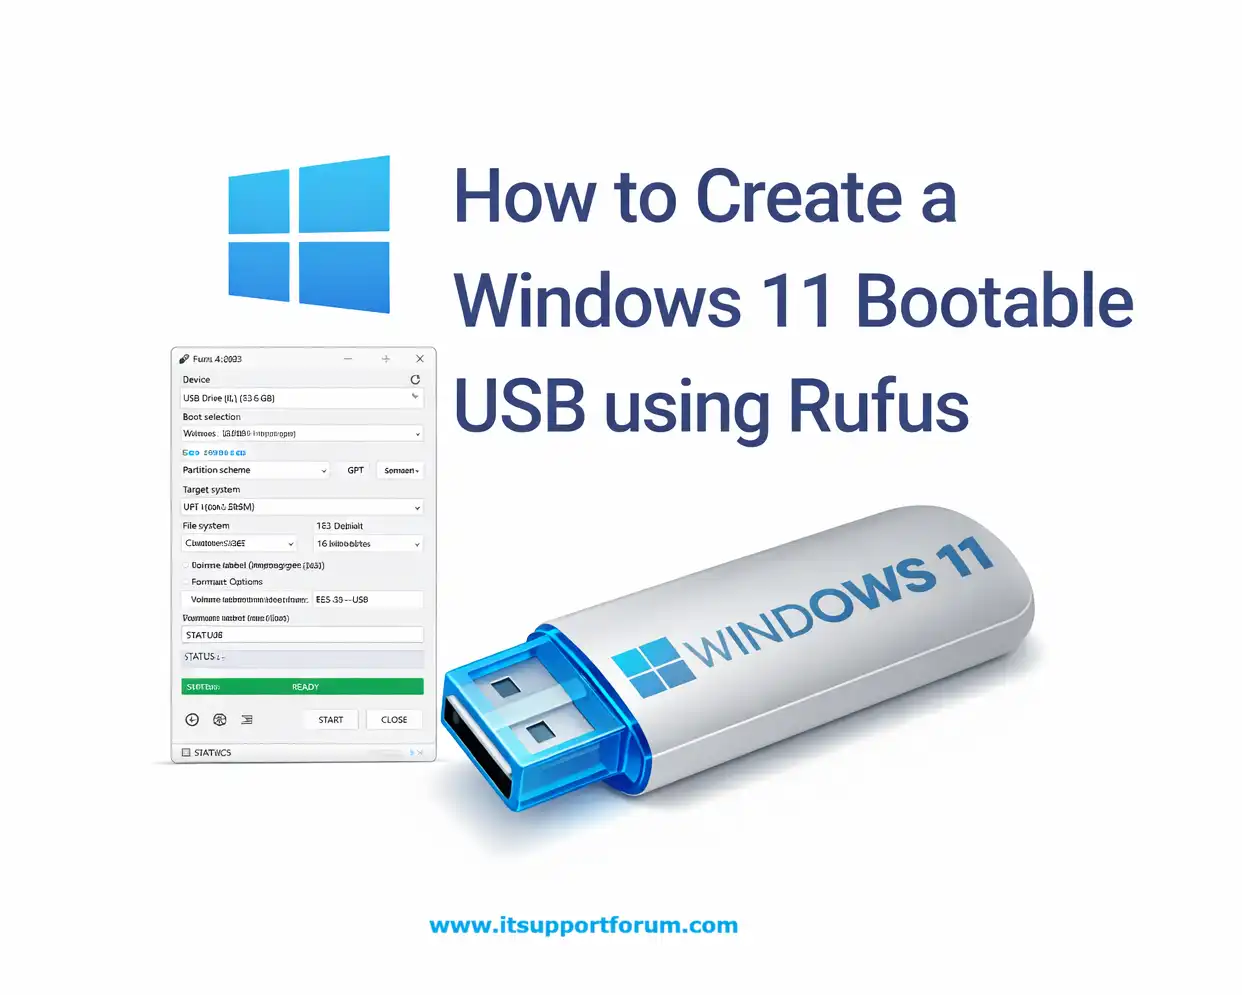
Rufus opens to a single-page interface. You’ll now configure the following fields:
Device
Select the USB drive you want to use. Its name and capacity will appear in the dropdown. Double-check that it matches your intended device.Boot Selection
Click Select and browse to the Windows 11 ISO you downloaded. Once loaded, Rufus may autofill related fields based on the ISO content.Image Option
Leave this on Standard Windows Installation. This builds a bootable installer rather than Windows to Go, which isn’t suitable here.Partition Scheme
Choose GPT if the target PC uses UEFI. Select MBR for legacy BIOS systems. If unsure, check the BIOS settings on your installation machine.Target System
This will auto-adjust based on the partition scheme. GPT selects UEFI (non-CSM), while MBR sets BIOS or UEFI. There is no need to change this manually.File System
Choose NTFS for full compatibility with larger files inside the ISO. FAT32 can be used only if the ISO is split into 4 GB or fewer (rarely optimal).Volume Label
This can be left as-is or renamed (e.g., WIN11_USB). It affects the USB name shown in File Explorer, not installation performance.Format Options
Ensure that Quick Format and Create extended label and icon files are both selected. These defaults are suitable for most configurations.
Selecting the Windows 11 ISO File
Click the Select button in Rufus to load the ISO file. This action triggers Rufus to scan the image and automatically populate relevant boot parameters.
Once the ISO is selected, Rufus updates the following settings:
Bootloader Compatibility
Rufus identifies the ISO’s bootloader type. For Windows 11, this typically includes UEFI support via EFI boot files embedded in the source image.Architecture Recognition
The tool detects the ISO’s bit version (Windows 11 is strictly 64-bit). No need to manually adjust architecture-related settings unless working with custom builds.Installation Type
Rufus defaults to Standard Windows Installation. This ensures your USB runs as an installer, not a live environment. Don’t change this unless you're experimenting.Partition Alignment
Depending on your earlier partition scheme selection, Rufus finalises the alignment for BIOS or UEFI. This prevents boot failures during installation.Split File Option (If ISO Is Large)
Suppose the ISO includes a large install.wim file, Rufus may prompt to split it to fit FAT32. If you're using NTFS, it will proceed without prompts.
At this stage, everything is aligned to build the installer. All that remains is to execute the operation and monitor progress.
Start the USB Creation Process
Once all configuration fields are verified, you can proceed with writing the bootable image. This process formats the USB and copies the Windows 11 install system onto it.
Click the Start button at the bottom of the Rufus window.
A warning prompt will appear: “All data on this device will be destroyed.” Confirm that you’ve backed up anything important.
Click OK to begin the formatting and image deployment process.
Rufus will format the drive using the selected file system (usually NTFS) and then extract the ISO contents.
The progress bar will display real-time status. This typically takes 5 to 10 minutes, depending on USB write speed and system resources.
During the process, avoid removing the USB or switching user accounts. Let Rufus complete uninterrupted.
When the status bar reaches 100 percent and displays “READY,” close Rufus and safely eject the drive.
You now have a fully functional Windows 11 bootable USB, ready for installation or repair usage.
Booting from the USB (Optional Section)
If you're installing Windows 11 immediately, you'll need to boot the target PC from the USB you just created. This requires modifying startup behaviour through the BIOS or UEFI firmware.
Enter the BIOS or UEFI Interface
Power on the PC and press the BIOS entry key repeatedly during the POST screen. Standard keys include Delete, Esc, F2, or F10. Your motherboard brand determines the key.Access the Boot Menu Directly (Optional Method)
Some systems allow one-time selection of a boot device without changing BIOS settings. Tap F12 or F11 during startup to open the boot device menu.Set USB as First Boot Device
In the BIOS, navigate to the Boot Order or Boot Priority menu. Move the USB device to the top of the list. Save and exit.Disable Secure Boot Temporarily (If Needed)
On older UEFI systems or non-OEM machines, Secure Boot may block unsigned boot media. Locate Secure Boot under Security or Boot tab and set it to Disabled.Save Changes and Restart
After adjusting settings, save the configuration and restart the PC. If the USB was prepared correctly, it will launch the Windows 11 installer automatically.
Read also: